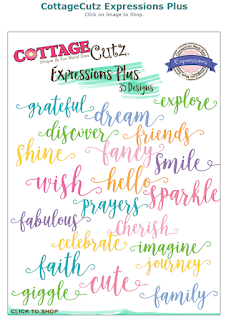
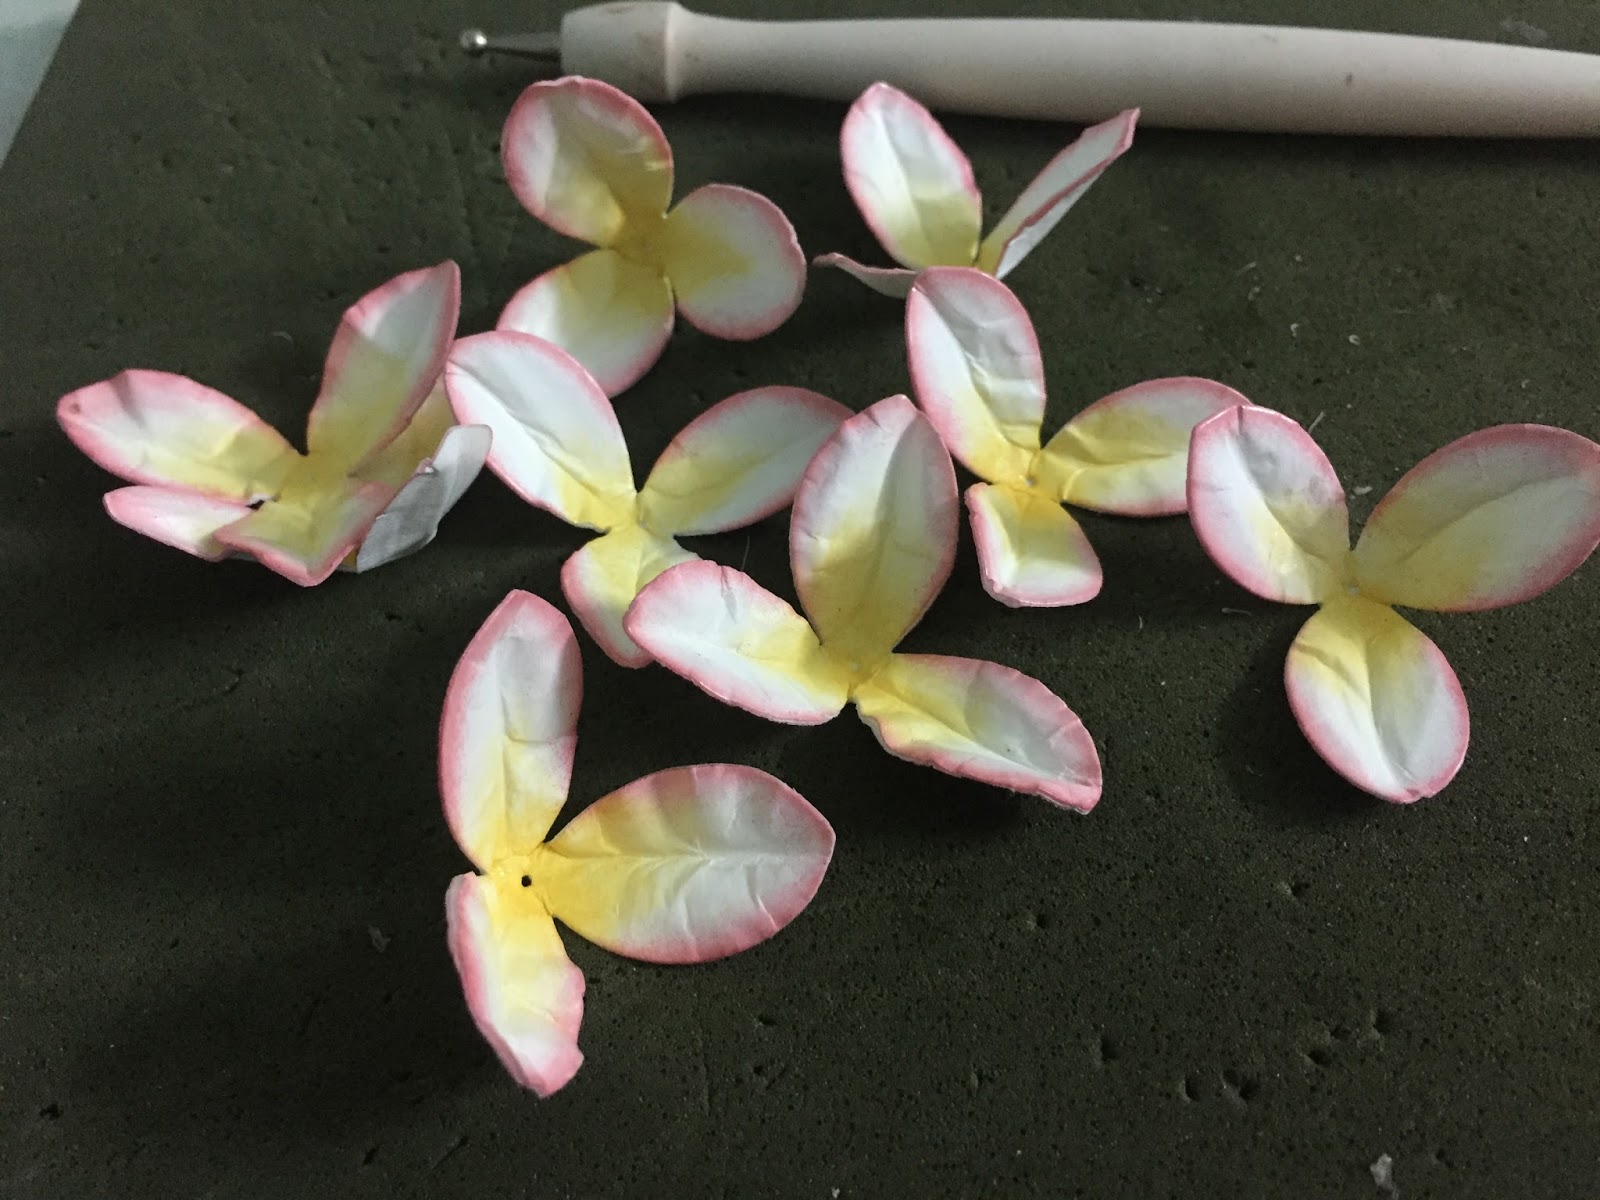
Here in North Carolina, we're already hitting low 90's regularly so I am totally in the mood to create summer scenes on my projects. Today's project features the Gladiolus stamp and die set which is the August flower in the Birthday Flowers release from January. I had to have this one because Glads were my Grandma's favorite garden flower and August is my birthday month. After coloring the die cut with PrismaColor pencils and a little Wink of Stella on the flower centers, I mounted it on the background with foam tape. The card also features the Discover Expression Plus die which I coated with clear heat embossing to add thickness and gloss. So pretty!
A couple weeks ago, Pam shared her gorgeous Prayers card. She used torn vellum as a background for one of the new word dies and that inspired me to do something similar. In my card, I used some glittered fiber from my stash to mount the word.

There's a lot more to share with you about this project. To find out all the details of how to make this card along with dimensions and supplies, please go to the video below.

Thanks for spending some time here at the Scrapping Cottage. Hope you'll be back tomorrow to see another project from our creative Design Team!
Did you know that CottageCutz now has an Instagram Account?
Join us on Instagram
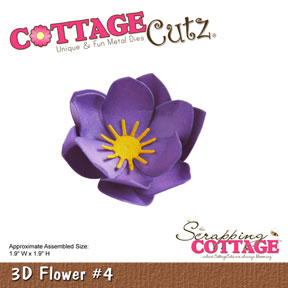
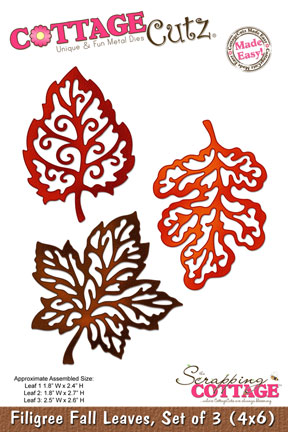
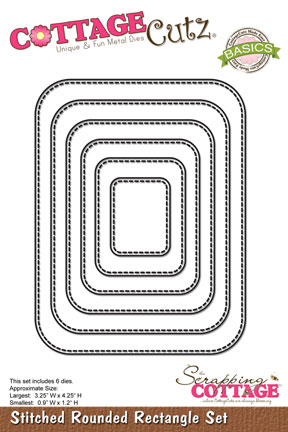
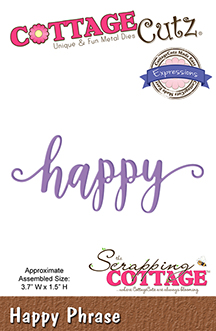
Dies used in this project: