Thursday, June 22, 2017

Camping Journey!

Good Morning Scrapping Cottage Friends

It is Pam sharing with you today! I must say I am not much of a camper because I am so afraid of creepy crawly critters! But I do love the beauty of God's Creation!  There are so many wonderful camping grounds maybe I will get brave enought to give it a try someday!


Design Steps:

1.  I started by cutting out all of the pieces using the Cottage Cutz Campground die. The card stock colors I used are green, dark green, kraft, yellow, orange, dark brown, and rust.

 2.  I then inked the pieces to give dimension and interest.  The inks are by Tim Holtz.
 3.  Cut out a free hand hill and ink.  Then cut out the Expression Plus Word Journey both cuts on Kraft card stock.  Last cut out grass on dark green card stock using the Cottage Cutz Spring Grass die
 4.  Use an A2 Kraft card base and a piece of designer paper for the background glue the DP to the card
 5. Glue the hill down, the grass, the trees, journey, moon, stars, and fire in that order

6. Last glue down the tent and your card is complete!

I just love how this card turned out! It sure looks like a cozy camp site! Hope you give these fun dies a try they are perfect for cards or scrapbooking!

Cottage Cutz Products


Blessings
Pam

Wednesday, June 21, 2017

Let's Go Fishing! Double-Fold Card


Hello Scrapping Cottage friends! It's Janet from SugarShine Designs with a masculine card for you today. This card is called a double-fold card and is also known as a Joy card fold. By complete coincidence, Lois posted this same card fold on Monday except she turned it so that the card opened up vertically. My card opens up horizontally but is otherwise very similar. This is a nice fold because it starts out a normal A2 size but once opened expands to three panels and 10.25" wide.


I used many different die sets to create this project but if you don't have all of them, just substitute with different dies. This same idea can work on a number of different themes. Just start by thinking about what you want to use for the closure and then go from there.

In my case, I started with the tree from the Grass, Trees & Vines set and built the rest around the outdoors theme. I also used all the dies from the stamp and die set called Woodlands. The detail in these stamps and dies are awesome. You can color these any number of ways but I chose to use my PrismaColor pencils. I colored the dies from the Fishing Gear set with distressed ink. 

For complete instructions and dimensions, please visit the CottageCutz YouTube Channel by clicking on the video image below. As always, ask any questions you have and give me a thumbs up if you enjoy the video. If you haven't already, please subscribe so that you won't miss any future CottageCutz videos. We are very close to 500 subscribers! Thank you for supporting the channel. We appreciate every one of our CottageCutz fans across all of our social media platforms.

 Click here for video

Dies Used in This Card:


Thanks for spending some time today with me and the Scrapping Cottage. See you again soon!

- Janet
SugarShine Designs

Tuesday, June 20, 2017

Jolly penguins shaker card

Hi, Janja here!

Nice hot weather inspired me to create a shaker card with a winter scene.


Supplies:
- CottageCutz dies: Jolly Penguin, Deer & Forest Border, Snowman w/ Lamp Post, Circle Set
- white card base: 5.3 x 5.3" (13,5 x 13,5 cm), folded
- white cardstock: 4.72 x 4.72" (12 x 12 cm)
- white cardstock: 4.5 x 4.5" (11,4 x 11,4 cm)
- fun foam: 4,3 x 4,3" (11 x 11 cm)
- white and colored cardstock
- transparent foil: 4,3 x 4,3" (11 x 11 cm)
- Cosmic shimmer glitter jewels - iced snow
- Distress Oxide - Broken China

Usually I use a watercolor paper for coloring, but this time I colored on a white cardstock. I also used it for other cutouts.


While we wait for the color to dry, cut out cute penguins from white and colored cardstock.


Cut out deer and spruces of white cardstock twice. Use one cut out entirely, and from the other cut off spruces with scissors. Also cut out deer from brown cardstock.
On the bottom edge add a white cardstock.


Borrow three snowy hills from snowman :).


Cut a hole in a white cardstock with an 8th die in a row from the middle of a set. Do the same with fun foam.


We begin by assembling the card as shown.


Fasten a fun foam on to blue background. Add some glitter in to the opening and cover it with a transparent foil.
Now we only have to fix a white cardstock with a deer and penguins.


Completed card.


I hope you like it and thank you for coming over.


Monday, June 19, 2017

Under the Sea Joy Fold Card

Hi, Lois here again with my Monday card.  Last week  I saw a card which was a variation of the Joy Fold card.  Instead of a horizontal opening, it had a vertical opening.  I haven't made a Joy Fold card in a while, so I decided to make one for today, using this vertical opening technique.  I used a bunch of "under the sea" dies from CottageCutz, along with one of the new Expressions Plus dies -- "imagine."


To start my card I cut two pieces of teal cardstock, one piece 8 1/2" x 5 1/2", scored at 5 1/2"; the other one 4" x 8", scored at 4".  I also cut three pieces of swirly blue-green paper:  5 1/4" x 5 1/4", 5 1/4" x 2 3/4", and 4" x 4"; and three pieces of "sand" paper 5 1/4" x 2 3/4", 5 1/4" x 2 1/4", 3 3/4" x 1 1/2".  I also cut one 3 3/4" x 3 3/4" white cardstock.


I tore across the top of the three pieces of "sand" paper and adhered them to the three pieces of blue-green paper.


Next I cut my die-cut images.  You will see that I cut two pieces each of the mermaid, the sentiment, and the waves.  You will understand this duplication as the card is constructed.


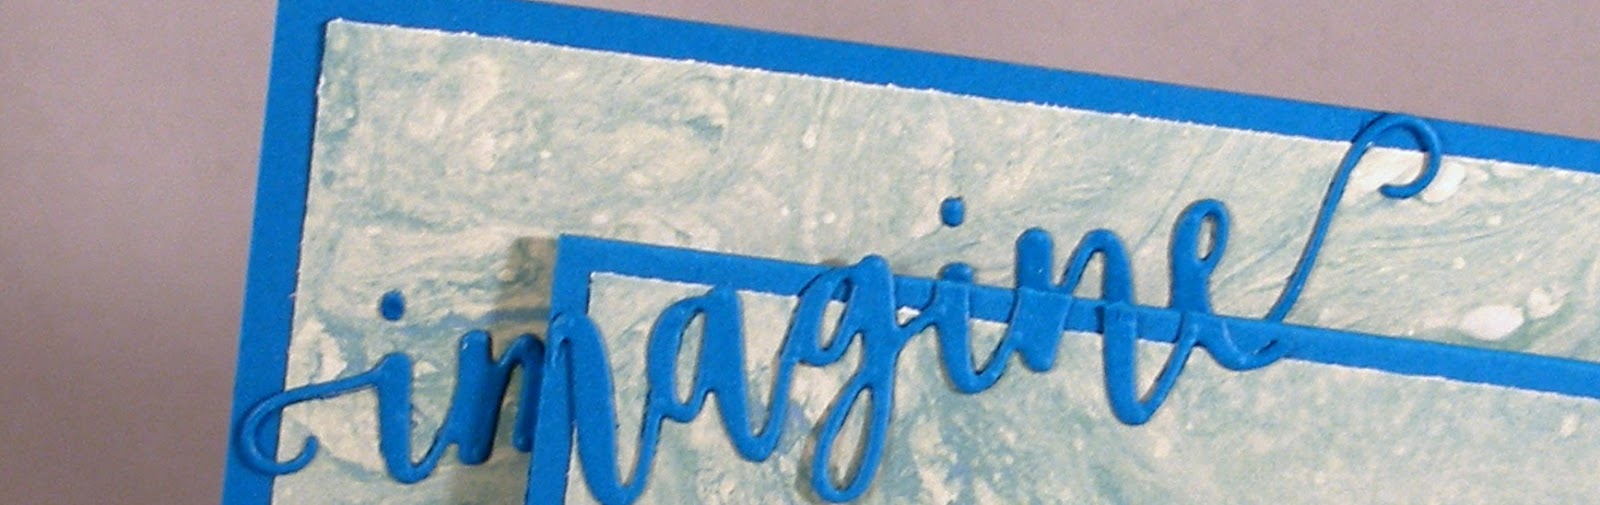
I adhered the patterned paper and one of the "imagine" die-cuts to my card pieces.


Next, I lined up the sand on the 4" x 4" card with the sand on the bottom panel of the card base and glued it down.  I did put some Scor-Tape on the back of the 4" x 4" card at the top to make sure of a good adhesion over the sentiment.


Here is where you discover why I cut two "imagine" sentiments.  Lining up the word with the one already on the card, I adhered it onto the smaller card and cut off the excess.  I will admit that this looked better in my head than what actually occurred.


Then, using  Copic markers,  I colored the mermaids, the shells and the seaweed . . .


. . . and adhered them to the front of the card.   As you can see, I poked out the pieces of the mermaid tail and hair and inserted the lighter blue and darker hair pieces into the other one.


The wave die-cut was not quite long enough to span the full 5 1/2", so I had cut another shorter piece of that wave to make up the difference.  After getting the size correct by overlapping and trimming the smaller piece, I adhered the wave across the fold-up panel on the front.


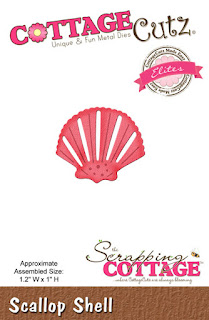
I had run  two of the shells through my Xyron X sticker maker so they would adhere well.  The third one (the scallop shell) was adhered with a medium glue dot.  This one is used as the "closure" on the left side of the 4" x 4" panel.

I then adhered the white panel inside the 4" x 4" section and stamped a sentiment and shell border.


And that completed my card.


CottageCutz dies used on this card are:

http://www.scrappingcottage.com/cottagecutzexpressionsplusimaginephrase.aspx


http://www.scrappingcottage.com/cottagecutzmermaidelites.aspx


http://www.scrappingcottage.com/cottagecutzconchshellelites.aspx


http://www.scrappingcottage.com/cottagecutztrumpetshellelites.aspx


http://www.scrappingcottage.com/cottagecutzscallopshellelites.aspx


http://www.scrappingcottage.com/cottagecutzunderthesea-2.aspx

http://www.scrappingcottage.com/cottagecutzwaveborderelites.aspx


I hope you liked my card today.